Home christmas projection: Build Your Cozy Mini Christmas Cinema at Home
Home christmas projection can transform a hallway, living room wall, or even a small alcove into a warm, cinematic stage. Start small. Pick a wall that faces where people naturally gather. Keep surfaces clean and free of busy patterns. A plain, light-colored wall gives the cleanest image and the softest glow. Think atmosphere first. The aim is a comfortable, inviting light that feels like a scene from a holiday movie. Low, warm colors read as cozy. Gently animated snowfall or slow silhouettes add motion without overwhelming the room. Make decisions based on what you want people to feel. Comfort and a hint of wonder should come before technical perfection. If you have kids, add a touch of magic at their eye level. For adults, aim for a relaxed, cinematic palette.
Choose the right wall and projector placement
Home christmas projection starts with the location. Look for a flat, uncluttered wall opposite your main seating. Test the distance with a phone flashlight or a small projector if you have one. The closer the projector, the smaller and brighter the image. Leave space for any decorations you want to place nearby. Consider sightlines from couches and chairs. A lower-mounted projection feels like a fireplace glow. A slightly elevated angle mimics a movie screen. Use a small table, shelf, or a tripod to fix the projector. Keep cords tidy and taped down to avoid trips. If you need to mount outside, choose weatherproofing and aim for a smooth house facade. Inside, move furniture back a bit to allow a comfortable viewing angle. If light spill onto other walls bothers you, add a fabric backdrop or a sheet to absorb stray light.
Home christmas projection works best with controlled ambient light. Dim the main lights or use warm accent lamps. Curtains help contain light and raise the perceived contrast of the projection. If you plan to run the show while people eat or chat, balance comfort lighting so guests can still see their plates. Test at the time of day you'll use the display. Evening setups need different tweaks than late-afternoon ones. Try small changes and watch how the mood shifts. Often a single lamp with a warm bulb and the projection active creates the perfect scene.
Design the scene: simple decor and layering
Home christmas projection looks best when the wall and its surroundings are composed like a stage. Start with a clean backdrop. Add a narrow garland above the projection for a frame. Place a small table or stack of books below for props like lanterns or a lantern-style lamp. Layer items so they catch some light without blocking the image. Use translucent fabrics sparingly to soften edges and create depth. Natural materials like pine, burlap, and wood add warmth. Keep colors in a tight palette: warm neutrals, deep greens, or rich reds. Less is more. Let the projection be the star. Avoid shiny or highly reflective surfaces near the wall. They can create hotspots and distract from the scene. If you want a fireplace illusion, position logs, a basket, and a soft rug under the projection. A few cushions in warm tones invite people to sit and linger.
Home christmas projection becomes more immersive with thoughtful placement of small lights. String lights with a warm hue placed behind pillows or under a bookshelf create an ambient glow. Use battery-powered candles for a safe, flickering foreground. Small metal or wooden silhouettes, like reindeer or trees, can cast charming shadows when lit appropriately. Play with scale: a single large prop looks better than many tiny ones cluttering the space. Take photos and adjust. A quick snap from the main seating position helps you spot distractions and balance things before guests arrive.
Sound and music: set the tone
Home christmas projection gains emotional weight when paired with sound. Use a compact Bluetooth speaker or the soundbar you already have. Choose a playlist with familiar, mellow tracks and a few instrumental pieces for variety. Keep sound levels low to encourage conversation, but steady enough to feel like part of the scene. Consider subtle sound effects—gentle wind, soft bells, or a crackling hearth noise—to match specific projections. Sound cues can change every few minutes to maintain interest. If you host a small group, invite song requests but keep the playlist cohesive. Avoid fast, upbeat music that fights the relaxed, cinematic mood. For family-friendly viewing, pick versions of songs without heavy production to keep the mix gentle.
Home christmas projection with synced audio feels polished but isn't required. If you want to sync sound to visuals, use simple apps or a single playlist with pre-timed tracks. Manual switching works fine for short shows. Think about the room’s acoustics. Rugs and cushions help reduce echo and make voices pleasant. If voices from the TV or other rooms bleed in, close doors or reposition speakers. The goal is a comfortable background score that ties the visuals to memory and emotion.
Craft simple sequences and gentle transitions
Home christmas projection is most compelling when motifs change slowly. Plan short sequences: snowfall for three minutes, a slow color wash for two, a silhouette scene for four. Repeat the cycle so late arrivals still see the whole show. Use fades and soft cross-dissolves rather than abrupt cuts. Keep each scene long enough to register, but not so long it becomes background noise. Consider pacing like a short film. Build a gentle arc: an introductory palette, a slightly brighter middle, and a calming close. Simple looping content works well. There are many ready-made holiday clips you can use or modify. If you like DIY, create a few slides in a basic editor and export a smooth loop. Make sure file formats play cleanly on your device.
Home christmas projection benefits from test runs. Watch the loop all the way through before guests arrive. Note any distracting flashes or image edges. Adjust projection focus or change content speed. If you have multiple projection files, sequence them in an order that feels natural. Label files clearly so switching mid-event is easy. Keep a remote or wireless keyboard at hand for on-the-fly tweaks. The simpler your plan, the more likely you'll enjoy the evening instead of fussing with settings.
Final setup checklist and ideas for sharing photos
Home christmas projection comes together fast when you follow a checklist. Gather everything a day ahead: projector, stand, speaker, extension cords, props, batteries, and content files. Test the full setup at the event time. Tape down cables and set a dim overlay lamp for safety. Create a small staging note with run times for your sequences. Label the speaker and projector input so any helper can restart the show. Have a backup playlist on your phone in case the main file stalls. Keep spare batteries and a power strip nearby.
Home christmas projection also makes great photos. Shoot from the main seating position and include some foreground props to show depth. Use portrait mode or a steady hand to keep images clear. Share a behind-the-scenes shot of your setup and the final result. Guests love seeing a before-and-after. If you post online, include a short tip about projector placement and room dimming. Small, practical notes help friends try it themselves. Most importantly, enjoy the mood you created. A tiny, well-curated projection can turn an ordinary evening into a warm holiday memory.
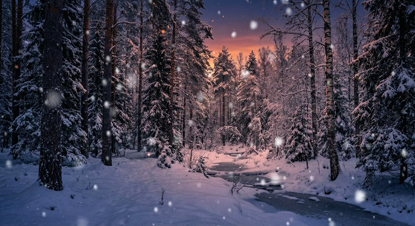
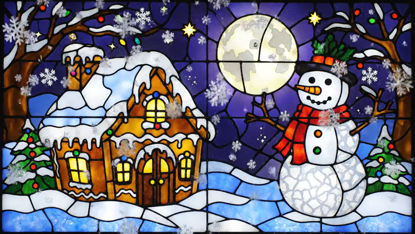
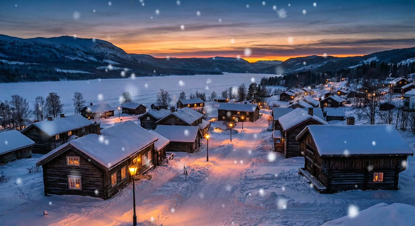
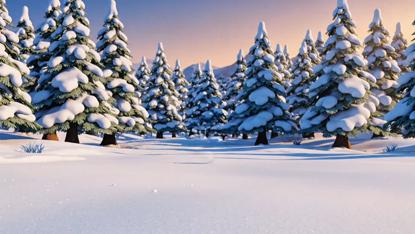
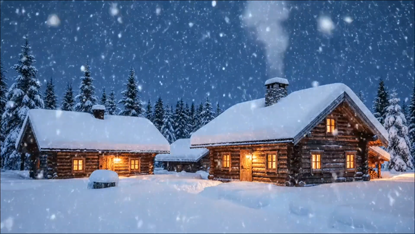
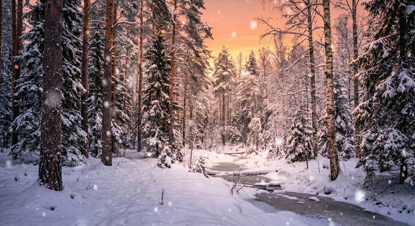
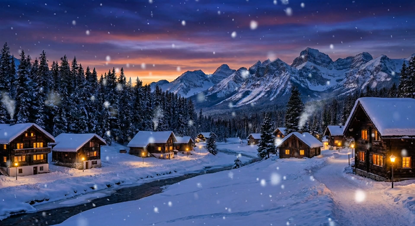
Popular projections