Projection options: Creative ways to use immersive projections for your space
Projection options are a fast way to change a room’s feel. Projection options let you craft cozy nights, party atmospheres, or subtle brand moments. Start small. Pick one surface and test one clip. Use low light. That alone will lift your display. I’ll keep this practical. You’ll get clear steps for wall, window, floating nets, and TV playback. Expect tips that save time and avoid common mistakes. Use what fits your space and energy. You can be playful. You can be subtle. Either way, the results are immediate and fun.
Picking the right mode: which projection option fits your scene
Projection options depend on your goal. Projection options work differently on walls than on windows or nets. First, think about angle and distance. For big immersion, you want a projector that reaches wide and stays bright. For a cozy holiday view in a window, rear-projection film and a compact projector often win. For a floating, magical look, choose a thin net and layer lights. For quick, crisp playback, plug into a TV. Start by mapping your priorities: size, contrast, and setup time. If you need a show for a party, prioritize brightness and wide coverage. If you want a long-running ambient piece, choose energy-efficient playback on a TV or a low-heat projector. Consider mounting too. Ceiling mounts give a clean look but require drilling. Tripods and shelves are faster and flexible. Think about sound as well. Motion alone can be powerful, but synchronized audio ups the emotion. Plan cable runs and power access. Short runs are safer and look cleaner. Test one setup before committing to permanent fixes. And keep your budget in mind. A mid-range projector plus a bit of film or fabric often beats expensive permanent installs. In short, match the projection option to your use case and start simple. You will iterate and learn fast.
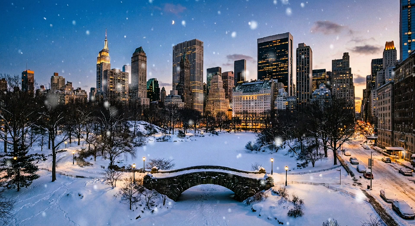
Wall projection: how to get the biggest impact
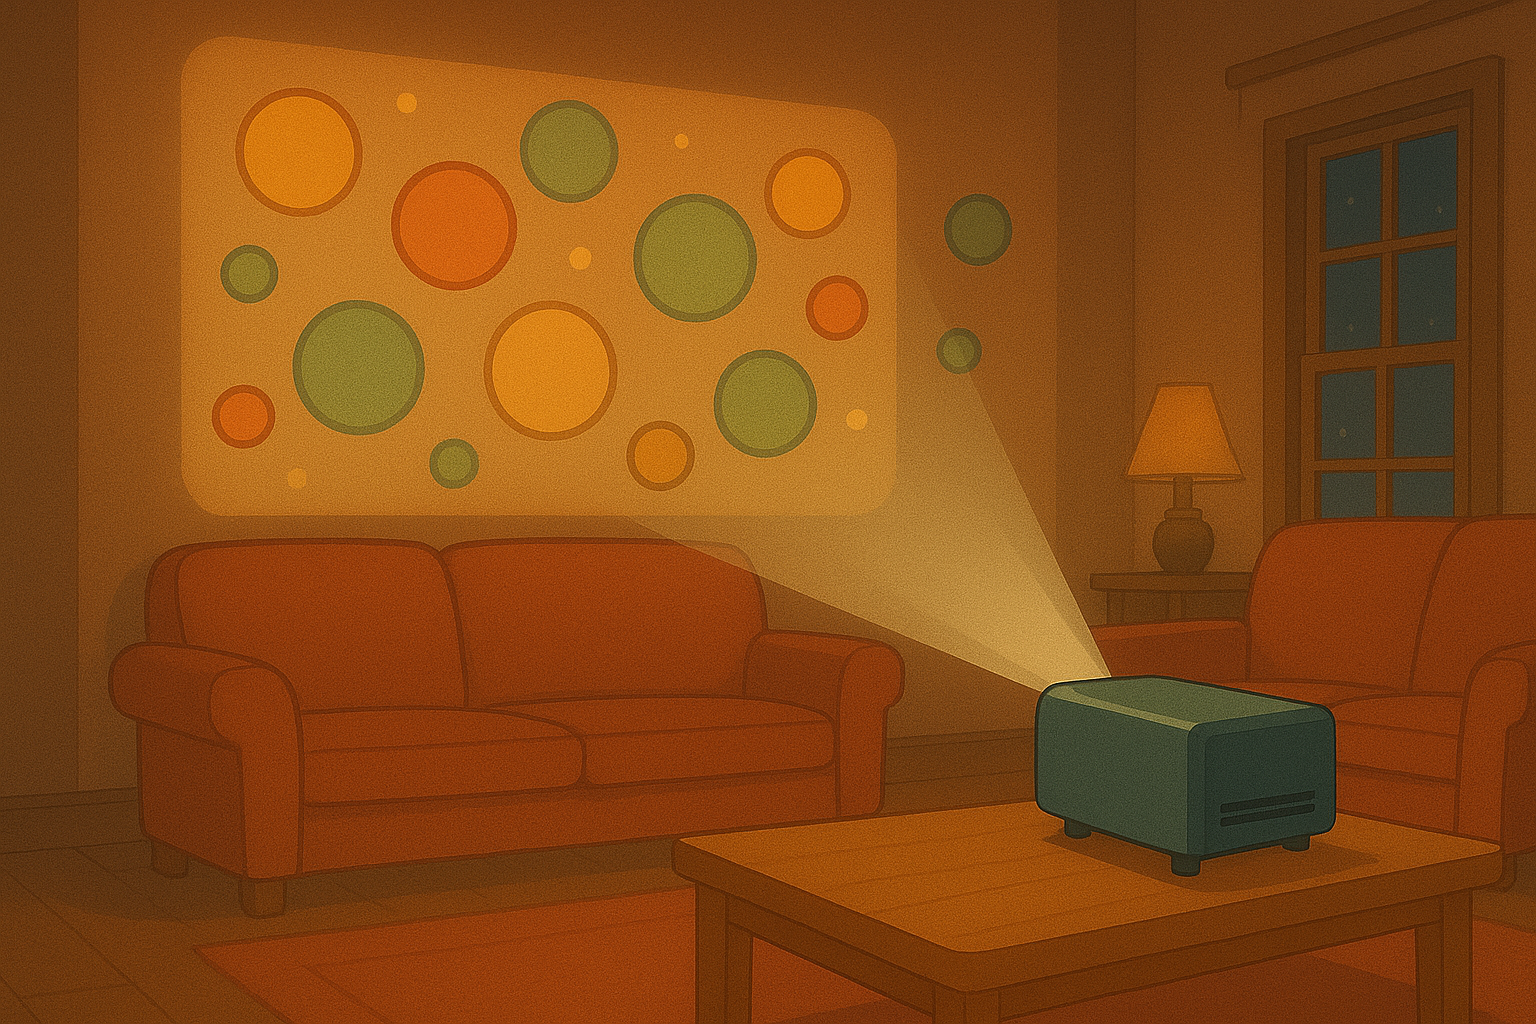
Projection options on walls are among the most dramatic. Projection options on a painted, light surface give the best color and detail. Choose a projector with enough lumens for your room. For rooms with some ambient light aim for 2000 lumens or more. Place the projector so the image fills the intended area without keystone warping. Use short throws if you are close to the wall. Use a simple white or neutral surface. Matte paint is your friend. Avoid glossy finishes or highly textured walls. If you want exact placement, use masking or edge blending with a small amount of gaff tape to mark corners. Calibrate color and sharpness using test patterns. If you have irregular shapes or furniture in the way, map content to the surface. Many projectors or simple mapping apps let you mask or warp to fit. For outdoor or high-ceiling applications, consider brightness and weather protection. Power and video cable length matter. Use an HDMI extender or wireless HDMI if runs are long. Keep cables tidy with cable covers or cord clips. Try different content lengths. Short loops are great for background ambiance. Longer narratives suit a planned screening. If you expect people to get close, mind safety around the projector and cables. A clean, focused setup quietly elevates the room.
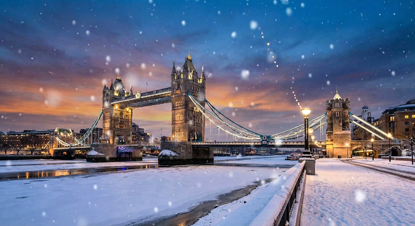
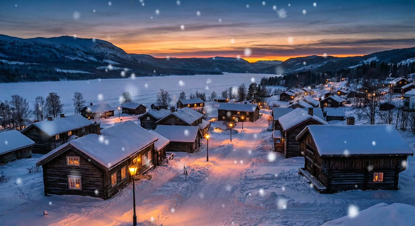
Window projection: tips for rear projection and public-facing displays
Projection options for windows require a slightly different approach. Projection options look best on the glass when you use rear-projection film or vinyl. The film lets viewers outside see a bright image while the inside remains comfortable. Install the film from the inside. Clean the glass thoroughly and apply slowly to avoid bubbles. For seasonal displays, choose clips with strong contrast and simple shapes. Ambient street light can wash out the image, so aim for higher brightness or schedule shows after dusk. Use a compact projector placed behind the screen. Mount it on a low shelf or secure it with a small bracket. Pay attention to viewing angles. If your window faces a sidewalk, scale the content for pedestrians. For privacy, choose darker scenes or mix in semi-opaque designs. If you want to run content all night, pick energy-efficient settings and schedule sleep timers to save power. Consider remote control via app to switch scenes from your phone. For storefronts or community displays, keep content family-friendly and readable at a glance. Simple text or bold animation reads better than detailed video when people pass quickly. Window setups are great for holiday cheer, promotions, or small theatre-style scenes visible from outside.
Floating nets and semi-transparent screens: creating magical depth
Projection options on floating nets create a sense of depth and movement. Projection options on a thin gauze or net let light pass through and also appear to float in the room. Use a delicate fabric like voile or specialty projection netting. Hang it from a simple frame or attach it with hooks, keeping the fabric taut but soft. Place your projector so the image hits the net straight on. If you want a ghostly, layered effect, use two nets at different distances and project complementary content on each. Backlighting behind the nets adds silhouette and depth. For stronger 3D illusions, combine nets with subtle haze or a fog machine—use haze lightly and safely. Test for hotspots; some projectors create brighter center zones. Move the projector slightly to blend hotspots into the design. If people will move around the installation, keep edges visible to avoid accidents. Use soft floor lighting and mark any tripping hazards. Floating nets work brilliantly for theater, immersive art, or lounge spaces. Rotate content often to keep the effect fresh. Simple motion loops create the sensation of life without complicated programming.
TV playback and hybrid setups: fast, crisp, and reliable
Projection options on a TV are the fastest route to crisp visuals with no throw distance to worry about. Projection options also work well in hybrid setups where a TV and a projector share content. Use your TV for high-detail animations and a projector for ambient background scenes. Play content via HDMI, streaming stick, or an app. For looping ambient visuals, a small media player or USB stick works well. If you want synchronization between TV and projector, use a single media source with split HDMI or a networked player. Keep file formats simple: MP4 with H.264 codec is widely compatible. For live control, use an app or a basic switcher. For longer shows, set up an automated playlist and schedule rest periods for the equipment to extend its lifespan. If sound matters, connect an external speaker to the TV or projector. Position speakers to match the visual source. TVs have strong contrast and clarity, so use them for close-up details or informational overlays. Projectors provide scale and atmosphere. Together, they let you design focused messaging on the TV while bathing the room in mood from the projector. This combo is great for events, branded spaces, and cozy living rooms alike.
Projection options are simple to start and flexible to expand. Projection options reward quick experiments, so try two looks in one evening. Take photos of setups you like. Note projector positions and content settings. That saves time next run. If you need help choosing gear, we’re here to advise. Try a small test clip first. Then scale up to full shows. You’ll be surprised how much mood a single projected layer adds. Use the techniques above and make the space your own.
Popular projections